
Top Load Break Switch: Comprehensive Guide to Installation and Maintenance Best Practices
2026-08-09
When it comes to reliable power distribution, the top load break switch plays a pivotal role that often goes unnoticed—until something goes wrong. Whether you're an electrical engineer or a maintenance technician, understanding the nuances of its installation and upkeep is essential for safety and uptime. In this guide, we break down the best practices that turn a routine task into a long-lasting solution. At Deepwill, we know that precision and durability are non-negotiable, so let’s dive into what sets a flawless installation apart.
Getting Started with Your Top Load Break Switch
Unpacking your top load break switch is straightforward, but it pays to take your time. Once you lift the unit out of its crate, give it a thorough visual once-over. Look for any signs of shipping damage—dents, cracked insulators, or loose hardware. Verify that the nameplate ratings match your order: voltage class, continuous current, and fault-interrupting capacity. If anything seems off, document it with photos and contact the manufacturer before proceeding. A little caution here can prevent headaches during commissioning.
Before you even think about mounting the switch, review the installation manual’s clearance requirements. These switches aren’t one-size-fits-all; the required phase-to-phase and phase-to-ground distances depend on your system’s BIL rating and the switch’s design. Ensure your mounting structure can handle the weight and operating forces—this isn’t just a static box, it has moving parts. If you’re retrofitting an existing pole or frame, double-check that everything is plumb and level. A slight misalignment can cause binding in the operating mechanism later on.
The mechanical checkout is where many first-time installers skip steps. Manually operate the switch through its full open-close cycle a few times before connecting any cables. Listen for any grinding or hesitation. If the switch has a stored-energy mechanism, make sure it charges and releases smoothly. Then, if your model includes interlocks or auxiliary contacts, test them with a multimeter to confirm they change state exactly when the blades move. This upfront attention to detail will give you confidence that the switch will perform when it matters most.
Prepping the Site for a Smooth Installation
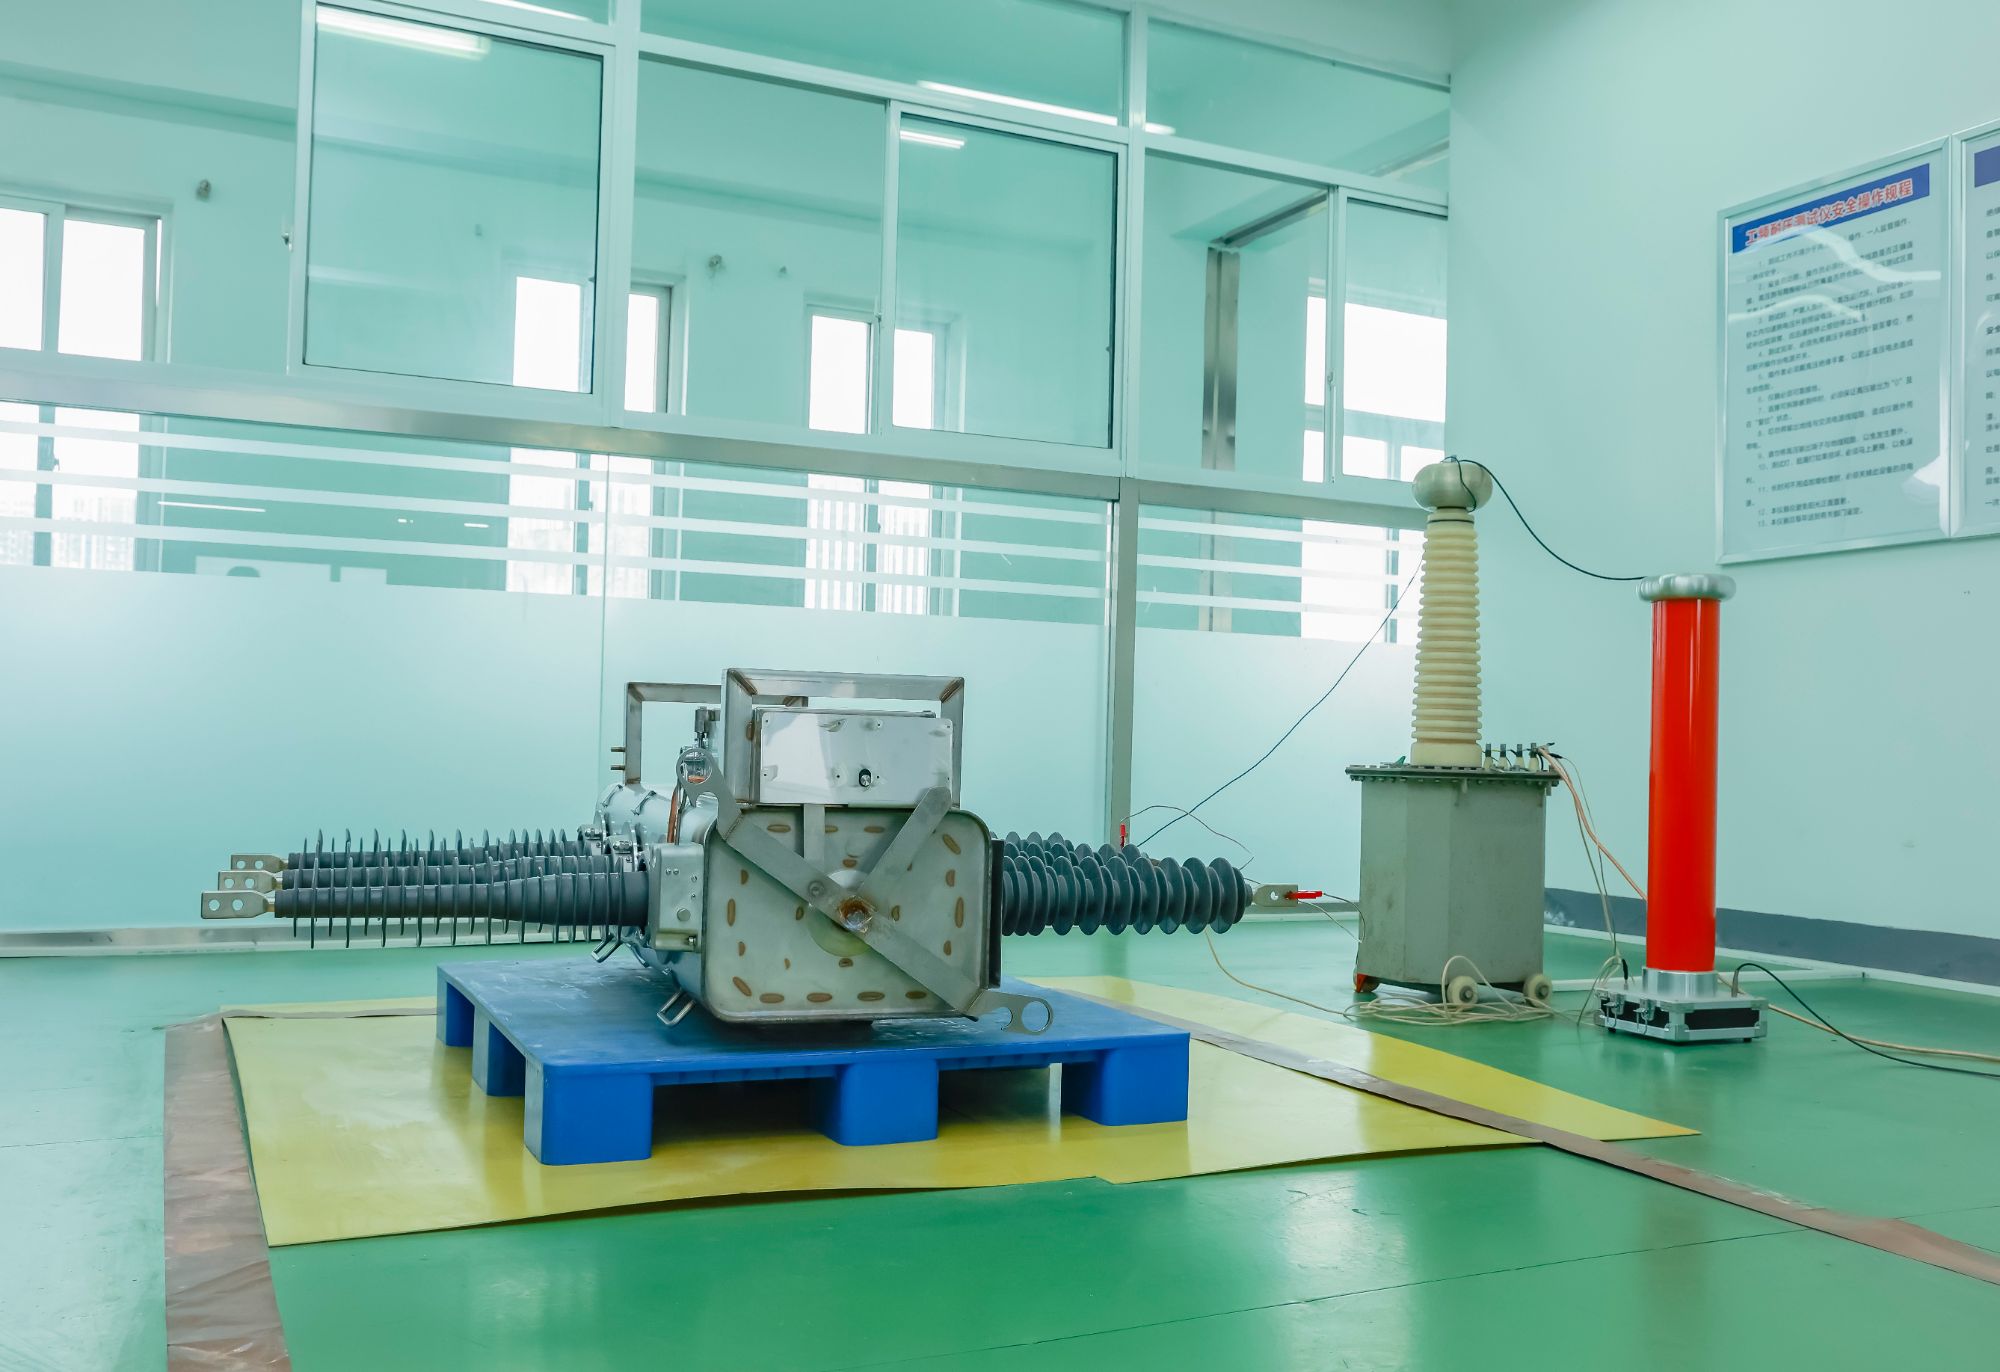
A little groundwork goes a long way when you're gearing up for any equipment setup. Start by double-checking that the chosen area is level and free of debris—uneven surfaces can lead to alignment headaches later. Also, take a moment to consider the surrounding environment: adequate ventilation and clear access routes will save you from awkward maneuvers on install day. It's the kind of attention to detail that prevents those last-minute scrambles.
Next, think about the utilities you'll need within reach. Whether it's power, water, or data connections, having them positioned close to the installation spot eliminates the need for extension cords or long hose runs that clutter the workspace. If the setup requires anchoring, test the floor's integrity ahead of time—drilling into an unexpected void can throw off the whole schedule. A quick walk-through with the installation manual in hand often reveals these hidden demands before they become problems.
Finally, don't underestimate the value of clearing the path. Move any vehicles, tools, or stored items out of the way so the install crew can move freely. If the site is outdoors, a quick check of the weather forecast and ground conditions can help you decide if you need temporary cover or extra gravel. These small proactive steps don't just speed up the process; they also reduce the risk of damage to your property or the new gear.
Step-by-Step Switch Mounting Techniques
Gather your tools before touching anything inside the wall. A voltage tester, screwdrivers, wire strippers, and a new switch plate are non-negotiable. Kill the circuit at the breaker and double-check the wires are dead. Nothing derails a clean install faster than discovering you're working on a live circuit halfway through.
Remove the old switch carefully, taking a photo of the wiring first. This reference saves you from guessing later. Note any oddities: three-way setups, aluminum wiring, or a rat's nest of tape. Straighten the wires, trim any nicked ends, and form neat loops around the new switch terminals. Don't just stab the wires in the back—screw terminals hold more securely over time.
Tuck the switch back into the box without pinching wires. Use the top and bottom screws to level it, even if the box itself is crooked. A slightly proud switch that sits flush with the wall plate is better than one sunk behind it. Finally, secure the plate and power up gently; listen for any faint sizzle or flicker that hints at a loose connection. A smooth, silent operation means you've done it right.
Essential Wiring and Connection Checks
Before powering up, a thorough visual once-over can save hours of troubleshooting later. Start by tracing every wire from end to end, looking for nicks in the insulation, loose strands near terminals, or signs of heat damage like discolored sheathing. Pay close attention to areas where cables pass through bulkheads or rub against sharp edges—these are prime spots for hidden wear. A quick tug on each crimped connector can reveal loose fits that might test fine with a multimeter but fail under vibration or thermal cycling.
Terminal connections deserve extra scrutiny. Over-torquing screws strips threads or cracks the lug; under-torquing invites arcing and intermittent faults. On barrier strips, make sure the wire is seated in the saddle and not pinched against the insulating barrier. Check that shield terminations for sensitive signals are dressed cleanly—drain wires should be pigtailed neatly and heat-shrink added to prevent braid whiskers from wandering. For soldered joints, look for dull, grainy surfaces that hint at a cold joint, and gently wiggle components to feel for mechanical looseness.
After the visual sweep, grab a meter and verify continuity where you expect it and absence where you don’t. Ring out each connection against the schematic, paying extra attention to ground paths and bonding points. A quick resistance check from the chassis to each grounded terminal can uncover paint or anodizing that’s acting as an unintended insulator. If you’re dealing with high-current circuits, a low-resistance measurement using four-wire Kelvin clips gives a truer picture than a standard ohmmeter. Finally, power up in stages if possible, monitoring for unexpected voltage drops that might indicate a resistive connection hiding under a shiny bolt head.
Routine Upkeep to Extend Switch Lifespan
Keeping network switches running reliably often comes down to the little things. Dust and grime accumulate faster than most realize, clustering around vents and ports. A quick wipe with a microfiber cloth every few months prevents airflow blockages, while reseating cables eliminates intermittent disconnects caused by oxidation. It’s a simple ritual that dodges far costlier repairs later.
Where the hardware sits matters just as much. Switches wedged into stifling cabinets or corners without ventilation run hot, slowly degrading internal components. Even small adjustments, like leaving space between units or adding a basic fan, discourage heat buildup and condensing humidity. Cracked or missing port covers let in debris too—snapping them back into place is a low-effort guard against long-term corrosion.
Firmware rarely gets attention until a problem arises, yet stale code often harbors bugs that strain hardware over time. Applying stable updates once or twice a year can smooth out power management quirks and patch memory leaks. It’s also worth periodically auditing connected devices: power-hungry PoE loads or a misbehaving client can force a switch into constant overdrive, shortening its working life without obvious symptoms.
Troubleshooting Common Operational Hiccups
Even the smoothest-running operations hit snags now and then. It might be a sudden drop in system speed, a miscommunication that sends the wrong item to a customer, or a tool that just won’t cooperate. The key isn’t to panic—it’s to pause and take a methodical look. Start by pinpointing exactly when and where the issue cropped up. Did it follow a recent update? Is it tied to a specific team member’s shift or a particular time of day? Gathering these clues quickly can shrink the time you spend chasing ghosts and get you closer to a fix that lasts.
Once you’ve zeroed in on the likely cause, test your hunch with a small, controlled change rather than overhauling everything at once. For example, if a report keeps generating errors, check the input data for a single anomaly before rewriting the whole query. If a piece of equipment keeps jamming, clean the most obvious sensor first instead of ordering a full replacement. This step-by-step approach not only avoids making the problem worse but also leaves a clear trail of what worked—or didn’t—for future reference. And don’t overlook the human side; sometimes a quick conversation can reveal that a new hire misunderstood a procedure, and a short refresher is all that’s needed.
After the immediate hiccup is resolved, take ten minutes to document what happened and why. A shared log—even a simple online doc—can prevent the same issue from blindsiding someone else next month. Note the symptoms, the root cause, and the steps that fixed it. This habit turns everyday headaches into a knowledge base that makes the whole team sharper. And if you notice a pattern emerging, don’t just keep patching; look for a broader tweak to your workflow or tools to head off the problem entirely. Sometimes the best troubleshooting isn’t about reacting faster, but about building systems that are a little more resilient from the start.
FAQ
A top load break switch is an electrical device designed to safely interrupt load current in overhead distribution systems. It’s commonly used in utility networks to isolate sections of lines for maintenance or fault handling, often mounted on poles.
Proper installation starts with verifying the switch’s rating matches the system voltage and load. Mount it securely on a robust pole structure, ensuring all connections are tight and weatherproofed. Follow manufacturer torque specs for bolts and use insulating blankets during live-line work to maintain safety.
Always de-energize the line if possible and use proper grounding. Wear arc-rated clothing, hard hats, and rubber gloves. Maintain safe approach distances and use a spotter. Never operate the switch under abnormal conditions like visible damage or wet weather without adequate protection.
Routine visual inspections should occur at least annually, with more detailed checks after severe weather events. Look for signs of corrosion, pitting on contacts, or insulation degradation. Operate the switch several times to ensure smooth mechanical movement and apply lubricant as specified by the manufacturer.
Common problems include contact wear, moisture ingress, and mechanical binding. Prevent them by using dielectric grease on connections, replacing worn arcing horns, and storing switches in dry conditions before installation. Regular operational testing catches stiffness before it becomes a failure.
Yes, implement a proactive maintenance schedule that includes cleaning insulators, checking interrupter operation, and verifying alignment. Apply protective coatings in corrosive environments and always use OEM parts for replacements. Document each maintenance activity to track performance trends.
Conclusion
Installing a top load break switch begins long before the first bolt is tightened. You need to familiarize yourself with the unit’s specifications, required clearances, and the specific demands of the electrical system it will serve. Site preparation is equally critical. Level the mounting surface, verify structural integrity, and ensure you have easy access for both installation and future maintenance. Lay out all components and hardware beforehand, and double-check that you have the right tools—this avoids frustrating delays once you’re up on the pole or in the vault. When it’s time to secure the switch, follow a methodical sequence: attach the mounting bracket firmly to the structure, hoist the switch body into position using appropriate rigging, and torque all fasteners to the manufacturer’s recommended values. Rushing this stage risks misalignment that can lead to operational binding or premature wear.
Once the switch is mounted, painstaking attention to wiring and connections keeps the system reliable. Strip and dress conductors carefully, apply corrosion inhibitors where needed, and torque terminals to spec—loose connections are the root of many switch failures. After the initial hookup, perform a thorough continuity and insulation resistance check before energizing. To get years of trouble-free service, establish a routine maintenance schedule that includes visual inspections, cleaning of insulators, and exercising the switch mechanism to prevent seizing. Lubricate pivot points sparingly with recommended grease and watch for signs of tracking or heating. If problems do arise, common solutions often involve addressing moisture ingress, tightening hardware that has loosened over time, or cleaning contacts that have accumulated oxidation. A logical, step-by-step troubleshooting approach—starting with the simplest possible cause—saves both time and equipment.
Contact Us
Contact Person: Julion
Email: [email protected]
Tel/WhatsApp: 8617351370631
Website: https://www.deyunelectric.com