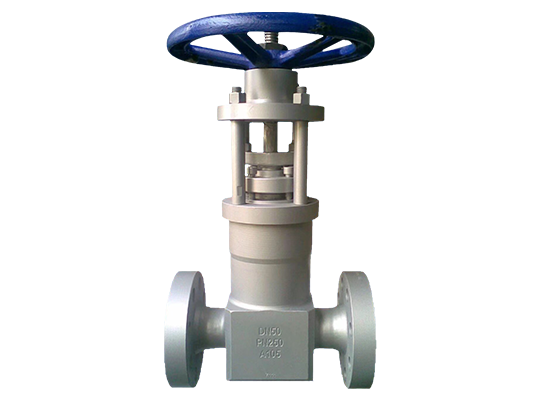
Gate Valve Maintenance: Tips for Longevity and Performance
2025-06-06
Gate valves are a reliable and durable choice for fluid control, but like any piece of equipment, they require regular maintenance to ensure they function properly over time. Whether you're working with a small water pipeline or a massive oil and gas distribution system, proper care of your gate valves is crucial for smooth operations. In this blog, we’ll discuss key maintenance practices and tips for extending the lifespan of gate valves while maintaining their performance.
Why is Gate Valve Maintenance Important?
Gate valves are subjected to constant mechanical stress and the wear and tear of sealing surfaces due to regular operation. If not properly maintained, a gate valve can become stuck, leak, or fail to fully close, which can lead to costly repairs or system downtime. Regular maintenance helps detect issues early, saving both time and money in the long run.
Common Issues with Gate Valves:
1. Leakage: Over time, the valve seal or gate may degrade, leading to leaks.
2. Sticking or Jamming: If the valve isn't used frequently, debris or corrosion may cause it to stick or jam.
3. Corrosion: Gate valves in corrosive environments may experience material degradation, affecting performance.
4. Wear on the Stem or Seals: The constant opening and closing of the valve can cause wear on the stem or seals, which compromises sealing integrity.

Gate Valve Maintenance Best Practices:
1. Regular Inspection:
Visual Inspection: Periodically check for signs of leaks, corrosion, or physical damage to the valve and surrounding piping.
Seal Check: Inspect the sealing surfaces for wear, cracks, or pitting. Worn seals are a common cause of leaks and valve failure.
2. Lubrication:
Gate valves that are used frequently should be lubricated regularly to prevent wear and ensure smooth operation. Apply the right kind of lubricant to the stem and threads to reduce friction.
3. Cleaning and Debris Removal:
Dirt, debris, and sediment can build up on the valve components, leading to sticking or improper sealing. Clean the valve regularly to prevent these issues.
4. Exercise the Valve:
Even if the valve is not in regular use, periodically exercise the valve to ensure that it doesn’t seize up. Operating the valve a few times a year helps prevent sticking and ensures that the gate moves freely.
5. Check for Proper Alignment:
The stem and gate need to be properly aligned for smooth operation. Misalignment can cause excessive wear and damage over time. Ensure the valve’s parts are correctly positioned.
6. Replace Worn Parts:
Over time, components such as the gate, seals, and stems can wear out. When you notice any parts starting to degrade, it's essential to replace them before the problem worsens.
7. Monitor Pressure and Flow:
Regularly check the pressure and flow of the system to ensure the valve is performing optimally. A significant pressure drop when the valve is open might indicate that the gate valve is not fully open or is partially obstructed.
When to Replace a Gate Valve?
While gate valves are known for their longevity, they don’t last forever. If a valve becomes too corroded, cracked, or permanently damaged, it will need to be replaced. Common signs that replacement is necessary include:
Persistent leakage that can’t be repaired.
Difficulty in opening or closing the valve.
Corrosion or material degradation that cannot be fixed through simple repairs.
Conclusion:
Routine maintenance is the key to ensuring your gate valves operate efficiently and effectively. By performing regular inspections, lubricating components, and cleaning the valve system, you can extend the lifespan of your gate valves and avoid costly repairs. Keep your system running smoothly and maintain peak performance by following these simple maintenance steps.


